Page 1 of 2 12 LastLast
Results 1 to 15 of 23

Thread: Aarons M2s and what I learned along the way...

  1. #1
    Senior Member
    Join Date
    Apr 2010
    Location
    New London, WI
    Posts
    163

    Aarons M2s and what I learned along the way...

    1: Have some idea of what you're doing

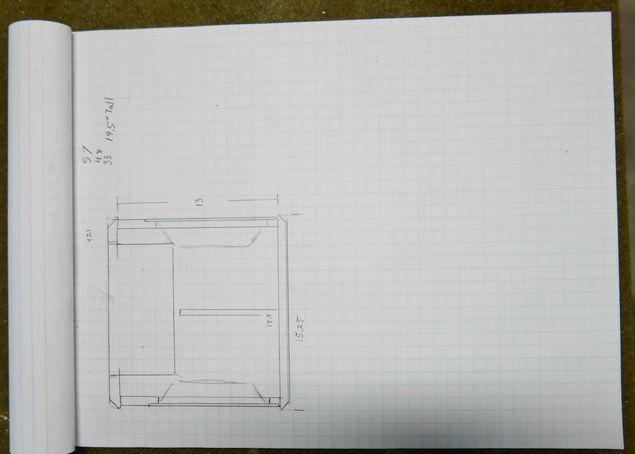
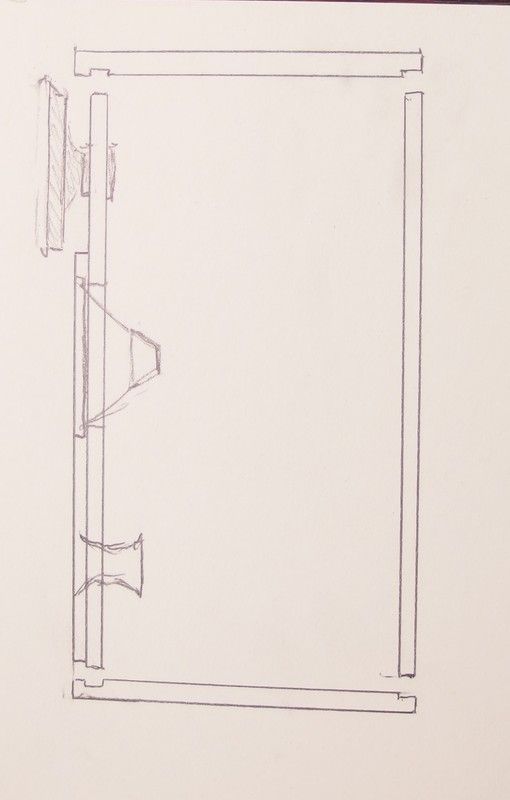
    It sounds a bit basic, but I for one have to constantly remind myself to flesh out a plan before I start cutting...the point of this thread is help with that in fact.
    Google SketchUp is useful if you're intelligent or graph paper will do if hopelessly daft.
    Here's what I use.


    It's just a plan for a generic subwoofer, but you get the idea.

    2: Layout gear
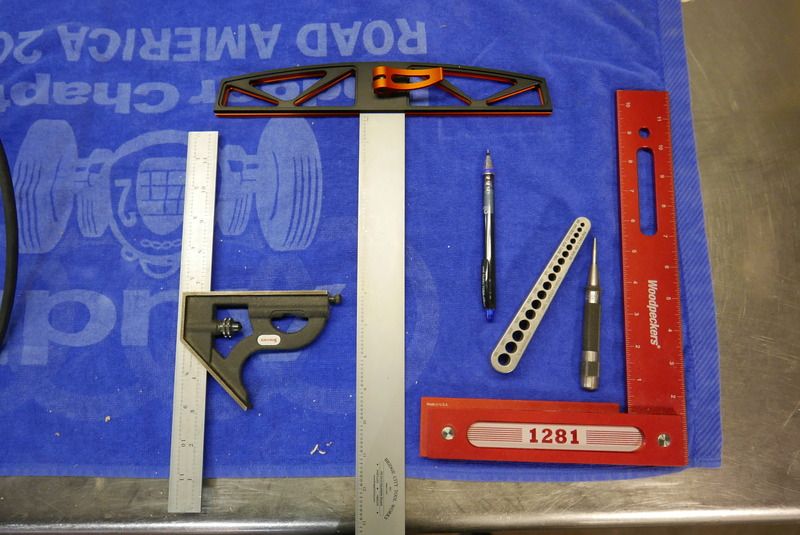
    The ability to measure & mark off what you want to cut or drill is a big deal. Maybe I'm just paranoid, but I hate guesswork so I got the nicest squares I could afford.


    The iron block with many holes is a drill guide to keep the bit perpendicular when hand drilling and the auto punch makes a nice dent to prevent the bit from walking.

    3: Pursue Precision

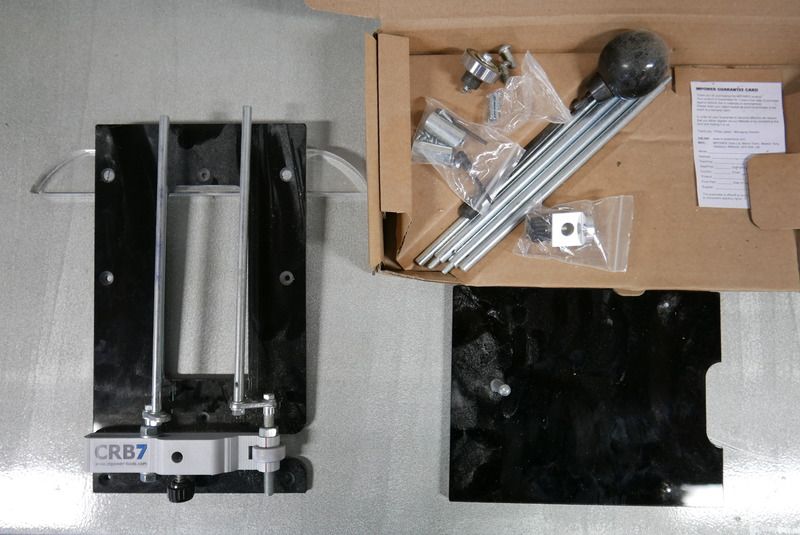
    Precision of this level requires more than good hand/eye coordination. You've got to build or buy tools & accessories that won't allow you to mess things up just because you're a slowly dying bag of flesh.


    This amazing device is the CRB7. If you don't have room for router table, it's the thing to have as it allows your handheld router to be much more useful than I ever thought possible...more on this later.


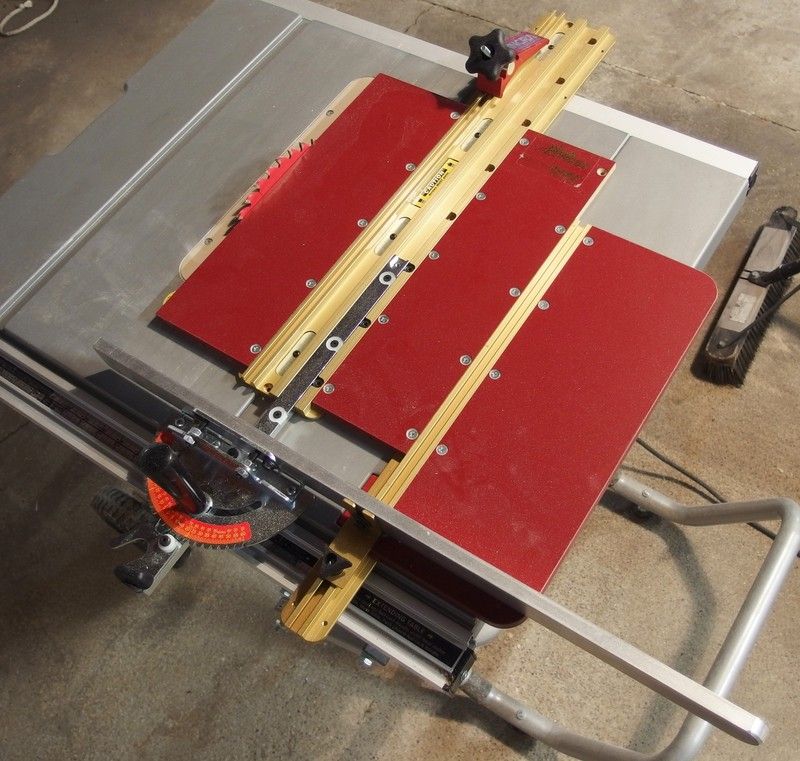
    This heap of kludge is an Incra brand sled. I added that three foot long chunk of aluminum to the miter to help keep things straight when handling the large sheets for this project. The clamp at the forward end helps a lot too.

    Stay tuned...

  2. #2
    Senior Member Flodstroem's Avatar
    Join Date
    May 2004
    Location
    Norway
    Posts
    472
    Looking forward to follow this thread, Thanks Aaron
    Flodstroem

  3. #3
    Senior Member
    Join Date
    Apr 2010
    Location
    New London, WI
    Posts
    163
    4: Cut twice
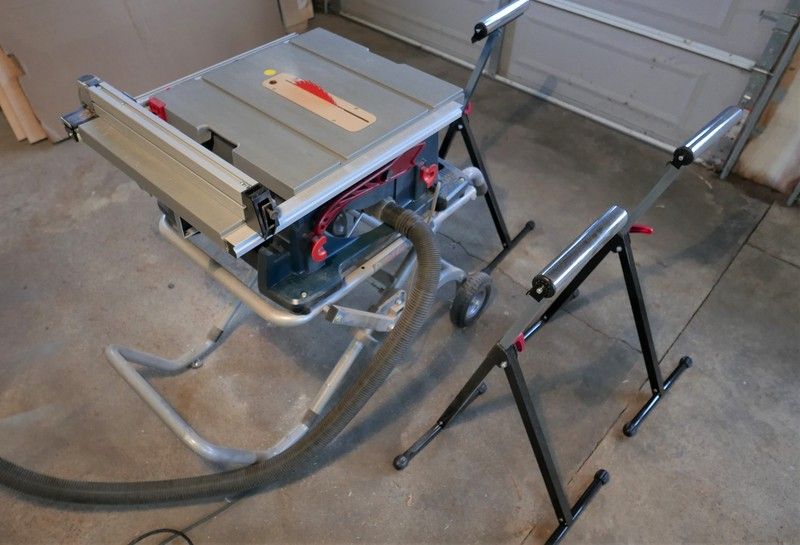
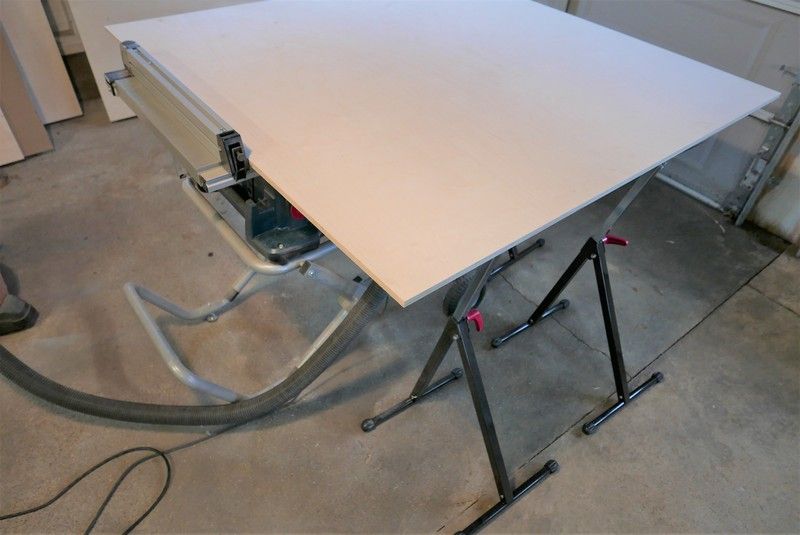
    5'x5' sheets of plywood or MDF are just too big to handle with any certainty on small work site table saws so cut the parts a half inch large. It'll be much easier to trim that last bit off nice and straight once the sheet has been divided up.


    Those rollers really help a lot even if you do have an extra pair of hands to assist with the rough cuts.


    That's a 5'x5' sheet dwarfing my little saw...can you see why I'd want a friend over to help?

    More to come...

  4. #4
    Senior Member srm51555's Avatar
    Join Date
    May 2013
    Location
    Wisconsin
    Posts
    623
    Quote Originally Posted by Flodstroem View Post
    Looking forward to follow this thread, Thanks Aaron
    Me too, thanks for sharing

  5. #5
    Senior Member
    Join Date
    Apr 2010
    Location
    New London, WI
    Posts
    163
    Looking forward to follow this thread, Thanks Aaron
    Quote Originally Posted by srm51555 View Post
    Me too, thanks for sharing
    You're most welcome!

    The waveguide:
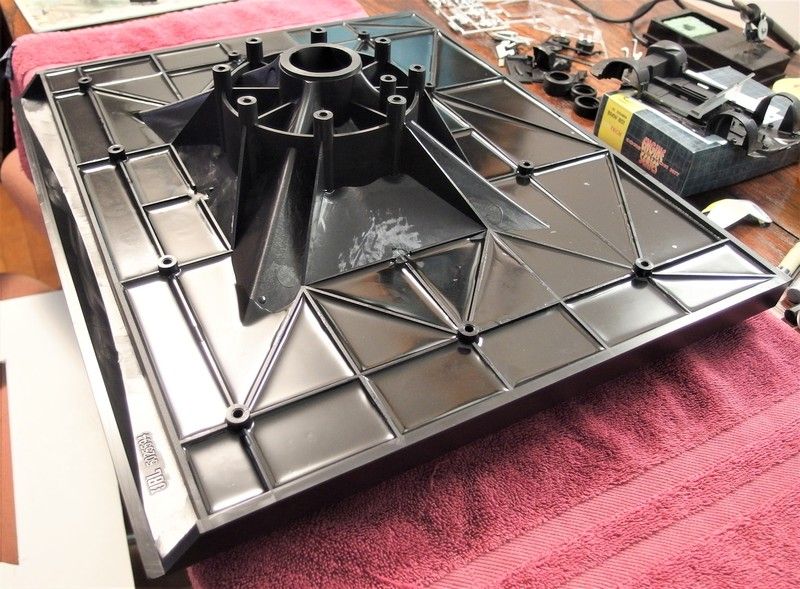
    We are finally getting to the M2 specific info and I'm gonna kick it off with a painless solution for mapping out the waveguide mounting hole pattern onto the baffle.


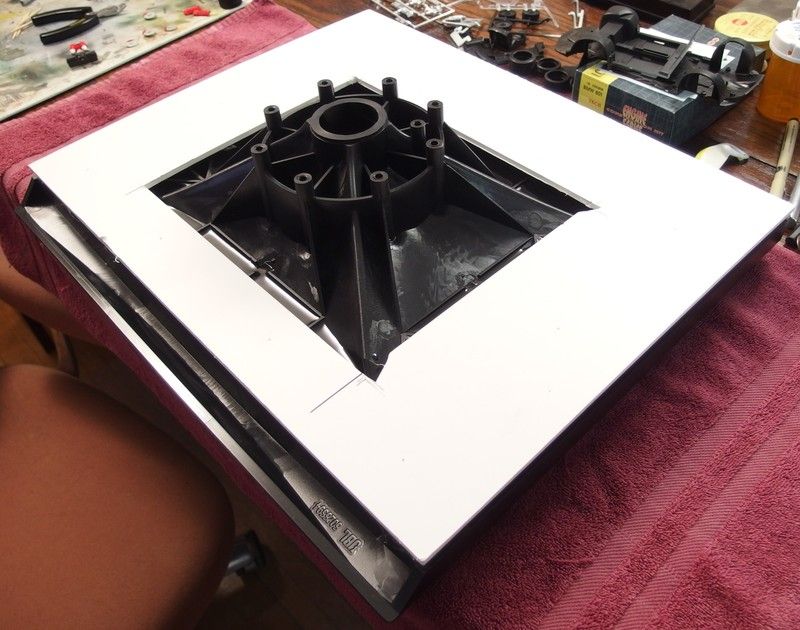
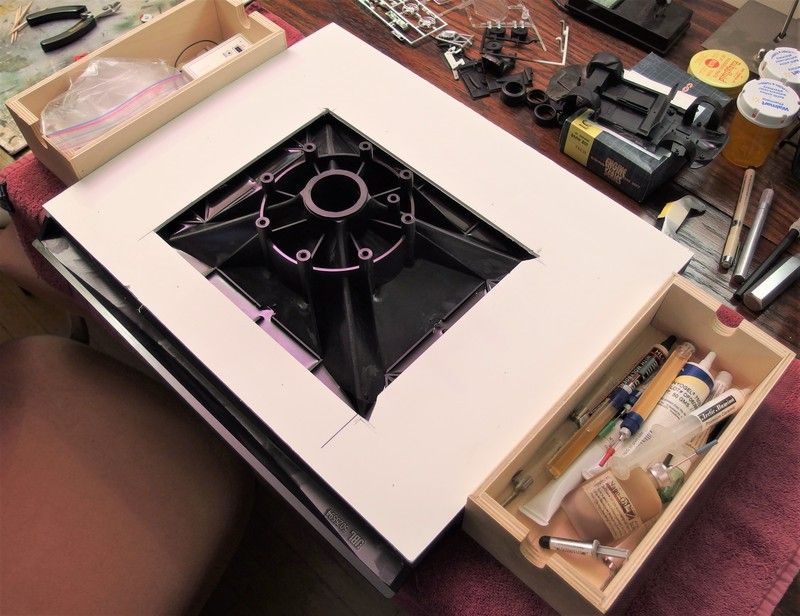
    I'm gonna call the area filled in with epoxy the mounting plane. Measure the mounting plane and cut a piece of foam cored sign board to those dimensions.


    Next, take a best guess at the size of hole required to pass the throat of the horn through.


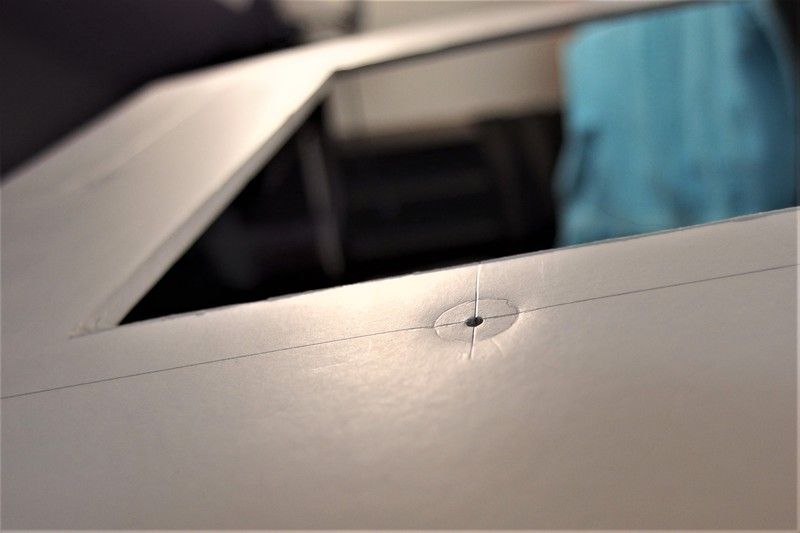
    Those drawers are there to keep the sign board from shifting around. Now lay down some flat strips of wood (two by fours or whatever) over the mounting bosses and apply firm pressure. You'll have to do this over both the horizontal & vertical rows obviously.


    That pressure should leave a dent in the board. I then marked it off, found the centers of the holes and ran sharp pin through each one. You now have a template.

  6. #6
    Senior Member Flodstroem's Avatar
    Join Date
    May 2004
    Location
    Norway
    Posts
    472
    Very intelligent Aaron, Thanks and I liked that and no pain measuring out with rulers etc.......
    But, what the hell is "foam cored sign board"
    I cant translate it to Norwegian. Is it some sort of pollyurethan board or what. Have never seen it here but I must investigate
    Du you have any references to this material like a link maybe. It would be excellent........
    But maybe I can find som other material as a substitute. Its only for to transfer the drill pattern to the speaker cabinets
    Flodstroem

  7. #7
    Senior Member
    Join Date
    Apr 2003
    Location
    GTA, Ont.
    Posts
    5,111

  8. #8
    Senior Member Flodstroem's Avatar
    Join Date
    May 2004
    Location
    Norway
    Posts
    472
    Thanks Earl
    Flodstroem

  9. #9
    Senior Member JuniorJBL's Avatar
    Join Date
    Feb 2004
    Location
    Utah
    Posts
    1,723
    Thanks for documenting your project Aaron!!

    Nice work too!
    Always fun learning more.......

  10. #10
    Senior Member
    Join Date
    Oct 2014
    Location
    Iceland
    Posts
    140
    Quote Originally Posted by Flodstroem View Post
    Very intelligent Aaron, Thanks and I liked that and no pain measuring out with rulers etc.......
    But, what the hell is "foam cored sign board"
    I cant translate it to Norwegian. Is it some sort of pollyurethan board or what. Have never seen it here but I must investigate
    Du you have any references to this material like a link maybe. It would be excellent........
    But maybe I can find som other material as a substitute. Its only for to transfer the drill pattern to the speaker cabinets
    Foamboard is called skumplate in Norwegian. Available from hobbyist and photo stores

  11. #11
    Senior Member
    Join Date
    Apr 2010
    Location
    New London, WI
    Posts
    163
    Wave guide screws:

    For those in the U.S. the perfect screw is a #12-24NC. It gets you full thread depth after tapping without removing a ton of material. For every other country on the planet...I have no idea...sorry.


    Making sawdust:


    My building method is to make a sandwich: Everything between the sides is the same width (17-11/16"...the width of the waveguide).


    I used 3/4" plywood for most of the build except for the outer layer of the front baffle and some of the braces. I made 1/8" deep rabbets in the top & bottom to make things easier to assemble.

    At this point, you've got a stack of pieces cut out, but they're all just a bit too big.
    A recap of the cutting process:

    1: Rough cut the big sheets into manageable pieces that are a half inch too big (done).

    2: Most of the pieces will have a straight side from the factory. Put that side against the table saws fence and cut the minimum amount required to clean up the rough cut side.

    3: pick out the Main front baffle parts and do all the cutting & drilling to fully mount the WG.

    4: Mount the wave guides and verify that they are perfectly square, then boldly trace around them with a sharp pencil.

    5: The baffles are still too large and they stick out from behind the wave guides on either side.

    6: Remove the WGs.

    7: Cut just one side of each baffle so that it's even with the line you drew in step #4.

    8: Now to do the other side of the baffle. Once you're satisfied that the first baffle is now the correct width, do not touch the fence! It is set perfectly to cut all of the pieces between the sides the exact same width.

    Writing instructions is not a skill I've worked on much, I hope this is all making sense.

  12. #12
    Senior Member Flodstroem's Avatar
    Join Date
    May 2004
    Location
    Norway
    Posts
    472
    Quote Originally Posted by johanwholst View Post
    Foamboard is called skumplate in Norwegian. Available from hobbyist and photo stores
    Thanks Johan! I have to investigate where to find it where I live
    Flodstroem

  13. #13
    Senior Member Flodstroem's Avatar
    Join Date
    May 2004
    Location
    Norway
    Posts
    472
    Quote Originally Posted by Aaron View Post
    Writing instructions is not a skill I've worked on much, I hope this is all making sense.
    Aaron, yes it makes sense absolutely thanks.
    Flodstroem

  14. #14
    Senior Member
    Join Date
    Apr 2010
    Location
    New London, WI
    Posts
    163
    The sides:

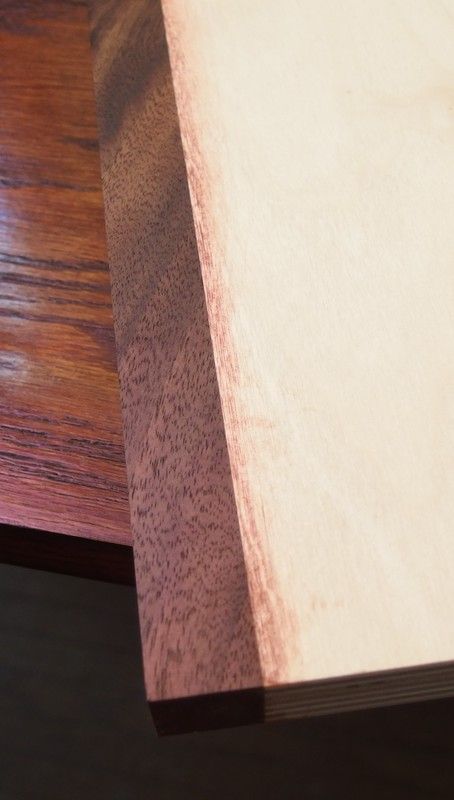
    The sides are still too big and they're about a little bigger by adding some banding to match your veneer (assuming you aren't going for a painted finish).


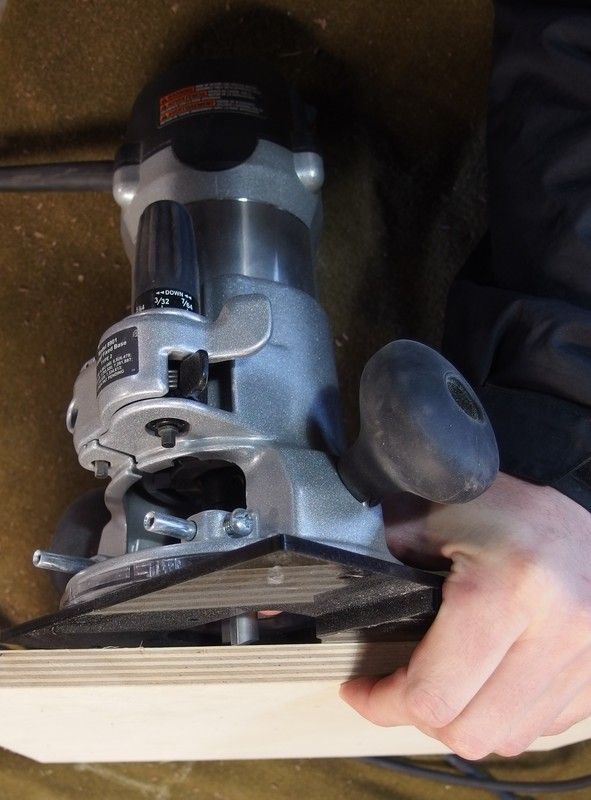
    The banding is going to be too large in pretty much every direction...much like what you see here on this LE14 bass bin baffle.


    The CRB7 flush trimming attachment to the rescue!


    A bit of sanding after trimming and it's looking good.

    Stay tuned for the exciting world of test fitment!

  15. #15
    Senior Member
    Join Date
    Apr 2010
    Location
    New London, WI
    Posts
    163
    More CRB7 magic:

    If you have all of the attachments for this device, I feel it's the easiest way to make the rabbets in the top & bottom.
    Also Handy is: Whiteside Router Bits 470 Undersize Plywood Dado 3 Piece Set


    Test fitting:


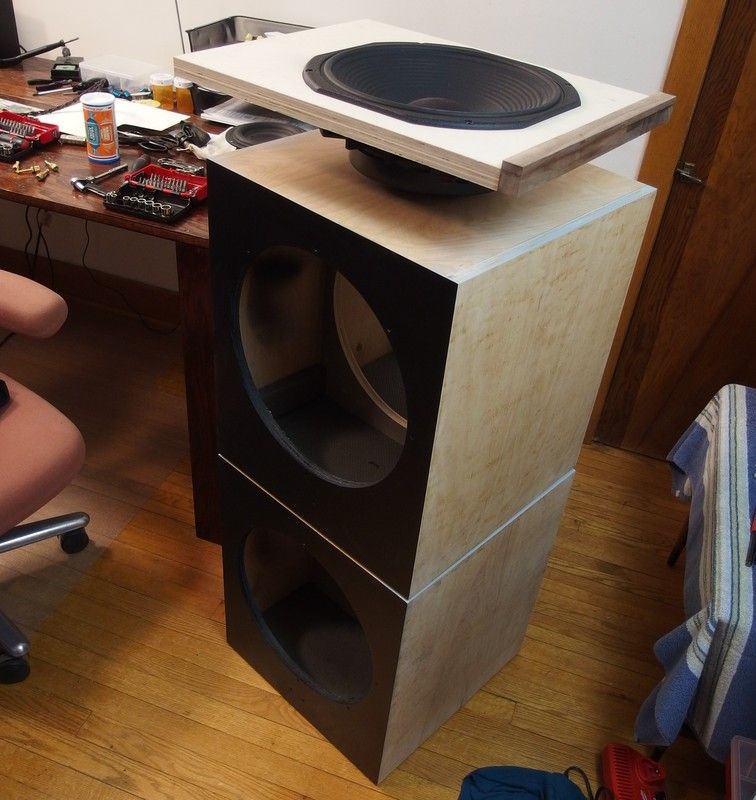
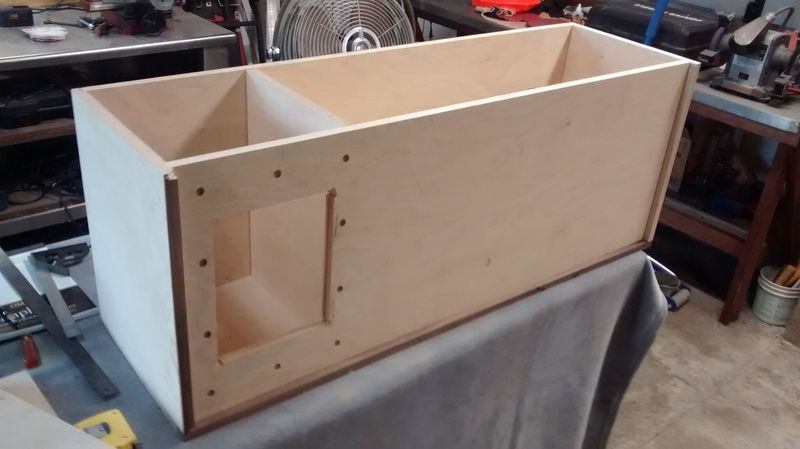
    Lay a side down on a bench and dry assemble the front, back, top & bottom. If you're smart, you'll use a couple clamps to hold the works together...here's what I did:


    If you squint, it nearly looks like speaker. Also if look you real close at the forward corners of the top piece, you'll see the notches to clear the gussets on the top of the wave guide.

    This is a good time to mention that you ought to mark all of the pieces 'box 1' and 'box 2'. Despite you're best efforts, they won't be exactly the same.

    Time to fit the WG again and start measuring & marking the 5/8" thick second layer of the baffle that will go between the WG and the bottom piece.

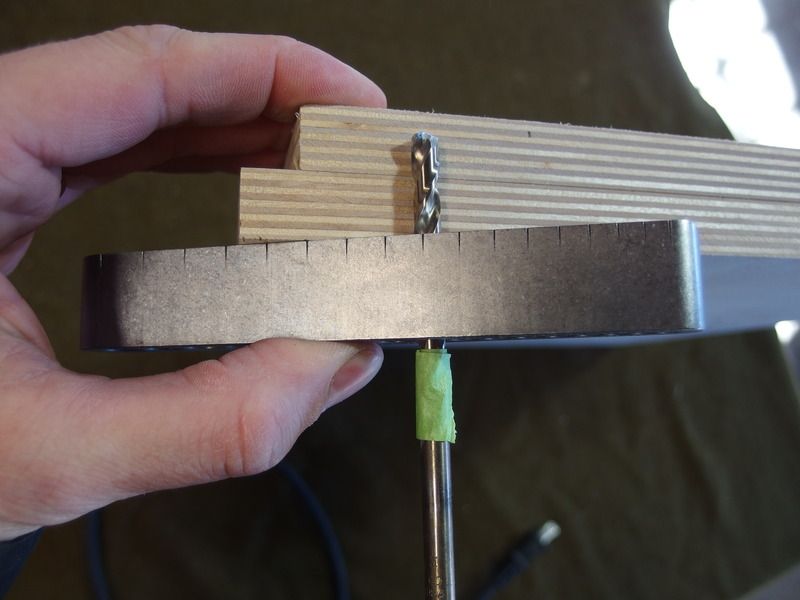
    When you're satisfied with the fitment of this piece, use that drill guide to pop a few holes from behind the baffle for locating dowels. Put some tape on the bit so you don't drill all the way through.


    Now you'll have to glue the two baffle layers together. Some folks use weight to press the parts together while the glue sets but I prefer clamps. I did one baffle at a time as I had to use all sixteen of my clamps to do the job justice.


    It's good to have a few clamps that can reach in deeper than the standard varieties to squeeze the center of the sheet as well.

Thread Information

Users Browsing this Thread

There are currently 1 users browsing this thread. (0 members and 1 guests)

Similar Threads

  1. Peter Aczel. What I have learned after six decades in audio.
    By Odd in forum General Audio Discussion
    Replies: 61
    Last Post: 05-11-2015, 10:45 PM
  2. Rotate your Altec Woofer every 10,000 songs - lesson learned..
    By Storm in forum Lansing Product Technical Help
    Replies: 25
    Last Post: 09-23-2008, 09:10 PM

Posting Permissions

  • You may not post new threads
  • You may not post replies
  • You may not post attachments
  • You may not edit your posts
  •