


Comming along with my project.
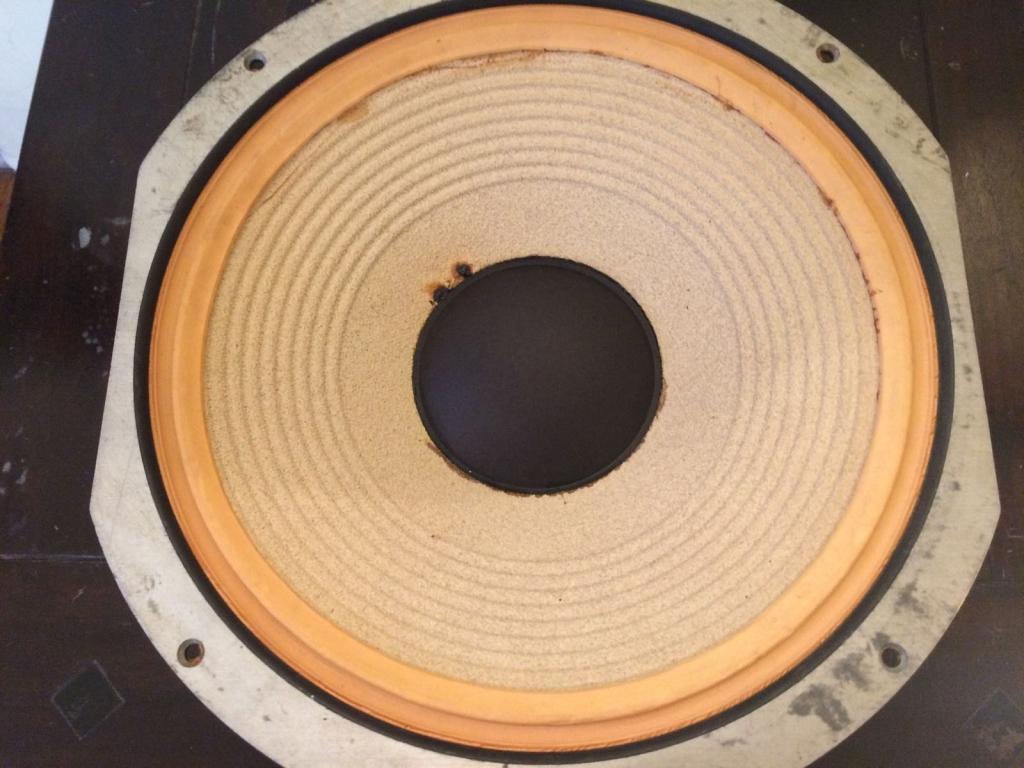
However my le14 surrounds were severly damaged in shipping
They are lansaloy, an irreplaceable, far as I know. Kinda bummed however I may have had to re surround
The le14s incidentally regardless,
The project is 4315a, using
2405
Le5-2 until I find 2105a
Le8t/le10/2018 cones
Le14a
Here is some of the damage, how simple is the removal of lansaloy, I have red threads I may way to use it if I can find some on this project. Any use an exacto to separate it from the cone as described in the re surround sticky...


 Reply With Quote


