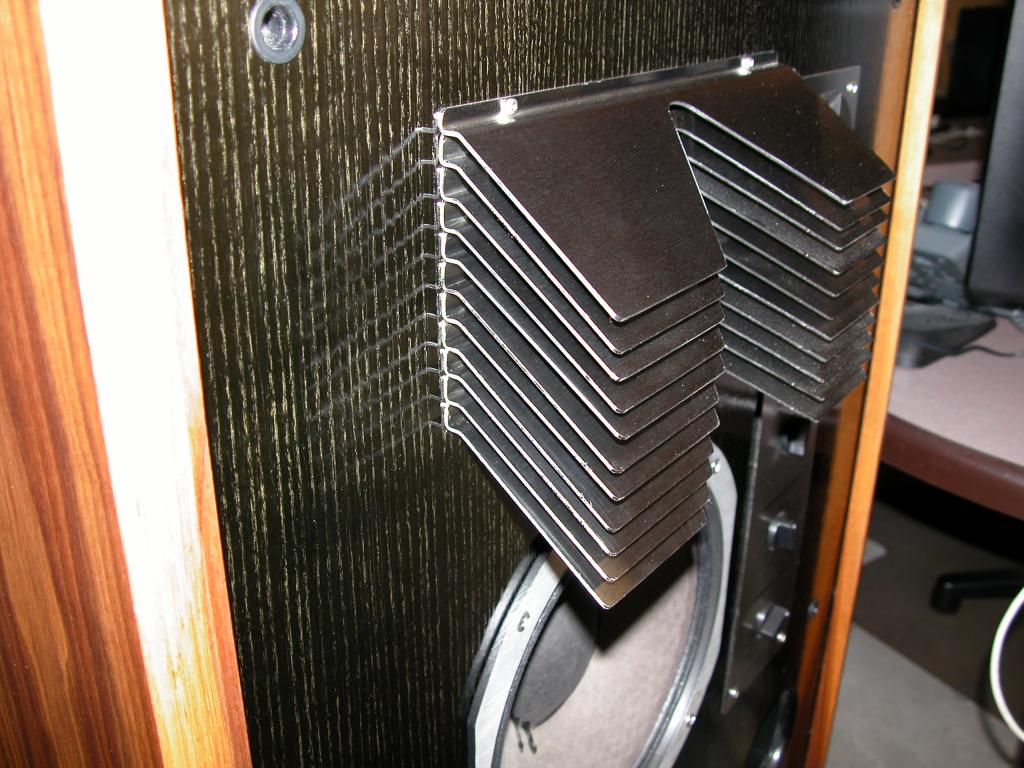
Page 4 of 7 FirstFirst ... 23456 ... LastLast
Results 46 to 60 of 97

Thread: JBL 4344 Clones

  1. #46
    Senior Member christo's Avatar
    Join Date
    Mar 2010
    Location
    Toronto, Canada
    Posts
    171
    Each piece is individually attached to the baffle with screws. To ensure the lens line up uniformly I had a template made to allow for the predrilling of the plate screw holes. The template is centered on the baffle by using the existing bolt holes for the horn. That was my original plan but it didn’t end up that way (wrong size holes for centering), for me it did not matter as I had not drilled the bolt holes in the baffle yet so I was able to just use the pilot holes.

    Name:  DSCN4885.jpg
Views: 5188
Size:  49.2 KB

    Here is the layout of the template

    Name:  JBL 2308 Lens Mounting Template .jpg
Views: 6469
Size:  54.6 KB

    Once the lens mounting screw holes have been predrilled it is just a matter of attaching the plates one at a time from the bottom up.

    Name:  DSCN4892.jpg
Views: 5342
Size:  132.1 KB

  2. #47
    Senior Member christo's Avatar
    Join Date
    Mar 2010
    Location
    Toronto, Canada
    Posts
    171
    For the SS LPAD foilcal I used a vinyl sticker, I had sections of it made clear so the SS is still visible beneath it.
    Attached Images Attached Images  

  3. #48
    Senior Member christo's Avatar
    Join Date
    Mar 2010
    Location
    Toronto, Canada
    Posts
    171
    Quote Originally Posted by wpod View Post
    But what I really want to see is some pictures of how you assembled that beautiful stainless steel lense. Did you weld the pieces together, tap and thread them, or use regular old nuts and bolts? You might want to consider making a few pair for some of us 4343/4344 owners , I know that I'd certainly be interested. Great work! regards, Paul from Providence
    Thanks Paul

    If any members are interested in the Stainless Steel 2308 lens please PM me, if there is sufficient interest I'll see what can be done – not promising anything at this point.

    Chris

  4. #49
    Senior Member christo's Avatar
    Join Date
    Mar 2010
    Location
    Toronto, Canada
    Posts
    171
    Quote Originally Posted by JBLP View Post
    Can you show how you trimmed the walnut trim in angle on the front?,
    The trim is chamfered at 30 degrees. Scrap wood is clamped at each end to allow the router bit guide wheel to roll straight off the edge of the box. Once each side has been chamfered you can’t do this for the top or bottom you have to use a straight edged to guide the router. Cause if you don’t the router guide wheel would follow the chamfered edge and a grown man will cry. The following pictures are from my B380 project but the technique is the same.

    Name:  DSCN4210.jpg
Views: 4872
Size:  95.3 KBName:  DSCN4215.jpg
Views: 4648
Size:  67.4 KB

  5. #50
    Senior Member christo's Avatar
    Join Date
    Mar 2010
    Location
    Toronto, Canada
    Posts
    171
    Quote Originally Posted by JBLP View Post
    You just started making the X-overs....??, how did you know what to buy (quality)?,
    Well let’s just say “I just started assembling X-overs” I’ll leave the making to the experts.

    I did my research; Google Advanced Search is your friend when looking for information in this web site. Search using “Giskard's equivalent network”.

    There is tons of information on X-overs within this web with the associated part list.

    I used the 2405H and 2425J circuits from “Giskard's equivalent network” and the JBL 4344 MKII for the 2123. I have redrawn the schematic from the scanned imaged in the web site. To any experts out there if I have miss-drawn the four 36.0 µF Caps that represent the two 72 µF Caps on the original JBL schematic let me know and I’ll fix. I’m no expert in this area.
    Name:  JBL 4344 Xover Schematic.jpg
Views: 8654
Size:  50.5 KB

    This is the parts list I used and were sourced from www.solen.ca.

    Name:  4344 Xover Parts List from solen.jpg
Views: 5242
Size:  81.9 KB

  6. #51
    Senior Member Amnes's Avatar
    Join Date
    Dec 2010
    Location
    Warsaw, Poland
    Posts
    219
    Inspiring thread - thank you for posting.

  7. #52
    Senior Member
    Join Date
    Nov 2003
    Location
    Toronto
    Posts
    1,162
    Quote Originally Posted by Mr. Widget View Post
    Congratulations on a fine project.

    Beautiful work and excellent documentation!

    I know what you mean about inserting those TD-2002s... Bo and I heard the same thing when we popped a pair into his 4345s. It was a surprising difference!


    Widget
    Even better with cc or upgraded caps, too.

  8. #53
    Senior Member christo's Avatar
    Join Date
    Mar 2010
    Location
    Toronto, Canada
    Posts
    171

    4344 Network Diagram Correction

    Quote Originally Posted by christo View Post
    Well let’s just say “I just started assembling X-overs” I’ll leave the making to the experts.

    I did my research; Google Advanced Search is your friend when looking for information in this web site. Search using “Giskard's equivalent network”.

    There is tons of information on X-overs within this web with the associated part list.

    I used the 2405H and 2425J circuits from “Giskard's equivalent network” and the JBL 4344 MKII for the 2123. I have redrawn the schematic from the scanned imaged in the web site. To any experts out there if I have miss-drawn the four 36.0 µF Caps that represent the two 72 µF Caps on the original JBL schematic let me know and I’ll fix. I’m no expert in this area.
    Name:  JBL 4344 Xover Schematic.jpg
Views: 8654
Size:  50.5 KB

    This is the parts list I used and were sourced from www.solen.ca.

    Name:  4344 Xover Parts List from solen.jpg
Views: 5242
Size:  81.9 KB
    The network diagram has a typo with the capacitors in the 2405 circuit. The original schematic had a pair of 3.3 uF this is incorrect. The pairing should be 3.3 uF and 3.9 uF. The parts list in the original post is correct.

    Below is the corrected schematic.

    Name:  434x Crossover Network Schematic FINAL.jpg
Views: 5010
Size:  50.1 KB

  9. #54
    Senior Member
    Join Date
    Sep 2008
    Location
    Germany / Hamburg
    Posts
    659
    Quote Originally Posted by christo View Post
    I used Silicone to glue the ports (ABS or sewage pipe) in to the cabinet
    Once I was told to never use silicone in a speaker enclosure due to it´s agressive degassing.
    It could dissolve the glue of driver-cones and suspensions!

    I have never tried, so I cannot confirm this quote but I just wanted to let you know...

  10. #55
    Senior Member Woody Banks's Avatar
    Join Date
    Feb 2004
    Location
    Oregon
    Posts
    676
    Beautiful work and documentation. Thanks for sharing.

  11. #56
    Member
    Join Date
    Nov 2016
    Location
    Vienna
    Posts
    76

    Jbl 2420

    hi.
    can i use the 2420 instead of the 2426 (TAD) for the HF?
    or do i have to adapt the R´s, C´s and L´s?

    thx

  12. #57
    Senior Member christo's Avatar
    Join Date
    Mar 2010
    Location
    Toronto, Canada
    Posts
    171
    Quote Originally Posted by fencki View Post
    hi.
    can i use the 2420 instead of the 2426 (TAD) for the HF?
    or do i have to adapt the R´s, C´s and L´s?

    thx
    The 2420 = LE85 which will work fine with the crossover, I have tried this.

  13. #58
    Senior Member christo's Avatar
    Join Date
    Mar 2010
    Location
    Toronto, Canada
    Posts
    171
    Quote Originally Posted by Woody Banks View Post
    Beautiful work and documentation. Thanks for sharing.
    Thanks Woody I have always admired your work !

  14. #59
    Senior Member christo's Avatar
    Join Date
    Mar 2010
    Location
    Toronto, Canada
    Posts
    171
    Quote Originally Posted by Dr.db View Post
    Once I was told to never use silicone in a speaker enclosure due to it´s agressive degassing.
    It could dissolve the glue of driver-cones and suspensions!

    I have never tried, so I cannot confirm this quote but I just wanted to let you know...
    I have never heard that, the boxes sat around for a week before I put the 2235s back in so hopefully the initial degassing would have occurred. It been two year's now with no issues.

    PS Like your work on your tribute project!

  15. #60
    Member
    Join Date
    Nov 2016
    Location
    Vienna
    Posts
    76
    Quote Originally Posted by christo View Post
    The 2420 = LE85 which will work fine with the crossover, I have tried this.
    thx for your answer.
    you helped a lot!

    i have one more question for my JBL 4345 clones.
    beacause i have no 2122h i got one 2123h.
    can i use this crossover from 4344 MK2 with chassis 2123h and build up the 3145 crossover?:

    http://www.audioheritage.org/vbullet...l=1#post397270
    (#53)


    please help with that too...
    so i can start to order the parts for the crossover.

    big thx!!!


    btw you did a REALLY GREAT job with ur JBL´s. just phantastic!

Thread Information

Users Browsing this Thread

There are currently 1 users browsing this thread. (0 members and 1 guests)

Similar Threads

  1. Westlake TM1/TM3 clones
    By cooky1257 in forum Lansing Product DIY Forum
    Replies: 41
    Last Post: 05-09-2008, 07:55 AM
  2. Clones
    By Zene in forum Lansing Product DIY Forum
    Replies: 57
    Last Post: 12-15-2007, 05:11 AM
  3. 2405 UHF Clones
    By witoman in forum General Audio Discussion
    Replies: 34
    Last Post: 10-11-2007, 04:25 PM
  4. New BX63a Clones ?
    By LE15-Thumper in forum Lansing Product Technical Help
    Replies: 15
    Last Post: 09-09-2004, 09:14 AM

Posting Permissions

  • You may not post new threads
  • You may not post replies
  • You may not post attachments
  • You may not edit your posts
  •