180 sanded and ready for some 320 but first I need to fix the chip on one of these.
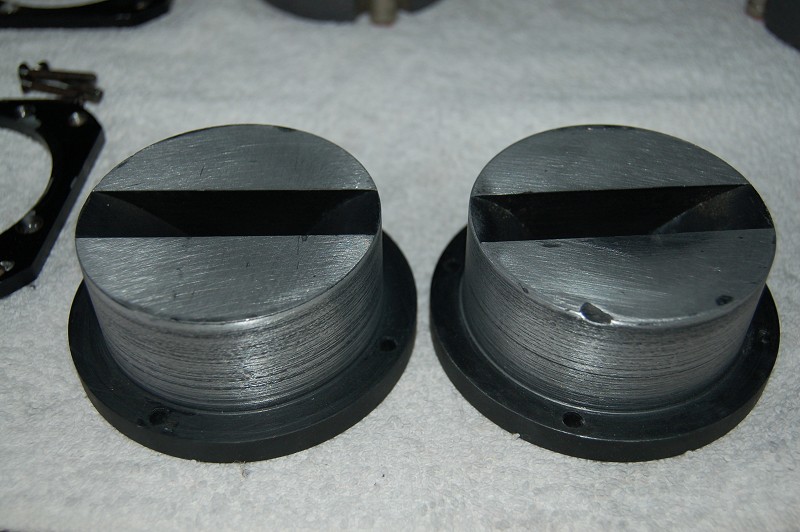


180 sanded and ready for some 320 but first I need to fix the chip on one of these.
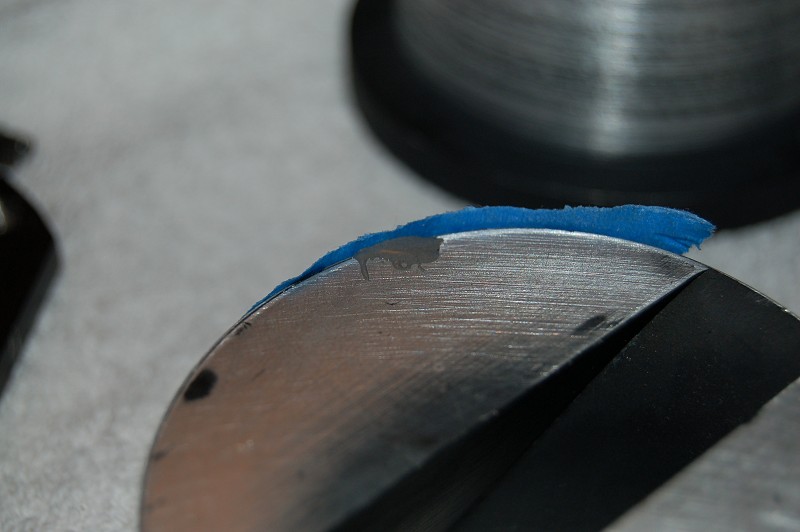
A little more JB Weld to fill the depression.
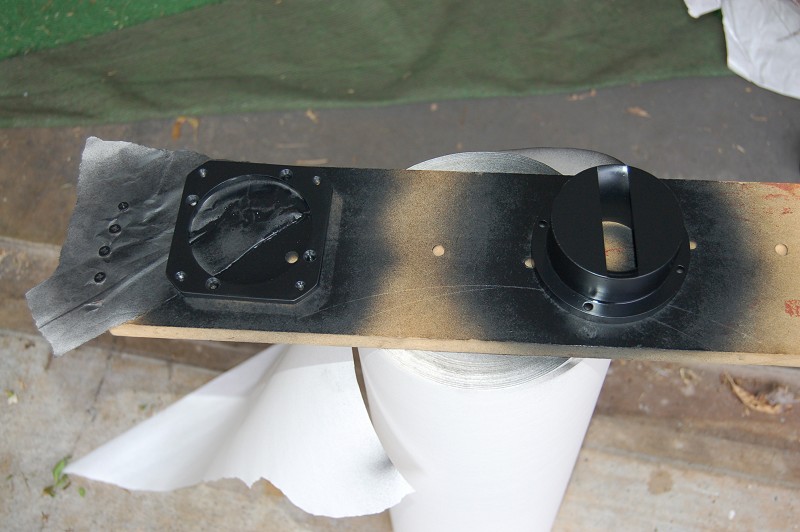
Once the JB Weld was set, it was sanded and I apply some paint. A perfect match is Krylon 1613 Semi-Flat lacquer. To bad Krylon has discontinued this formulation. They now have a Semi-Flat enamel, but it isn't the same sheen. They now use the number 1613 for their satin black. Again, not the same sheen.
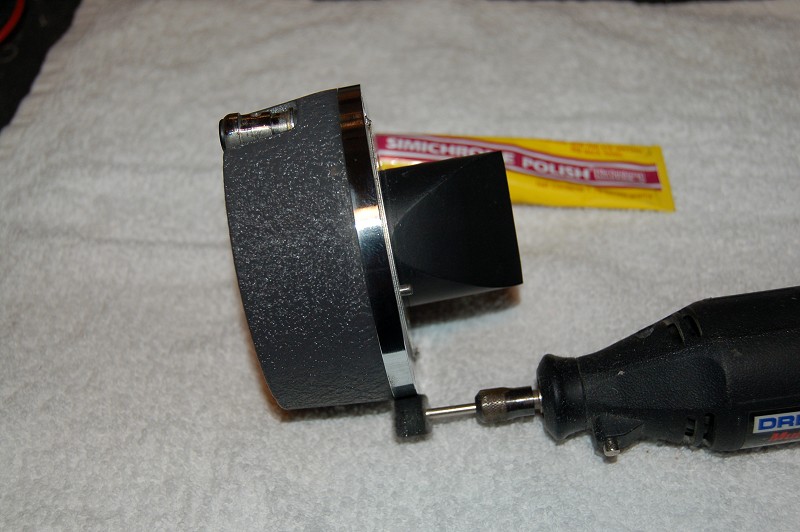
while the paint is drying, I decided to polish the aluminum band with some Happisch SimiChrome.
Just in time today, I received the stands from Lee. These things are really nice!
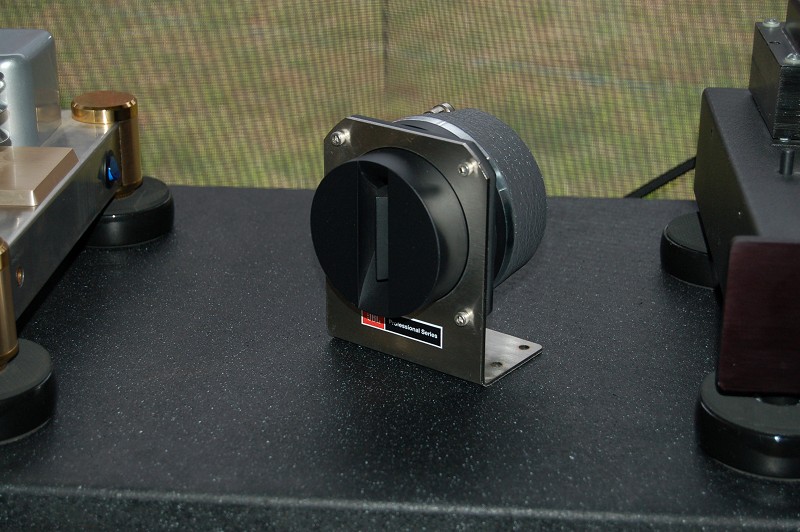
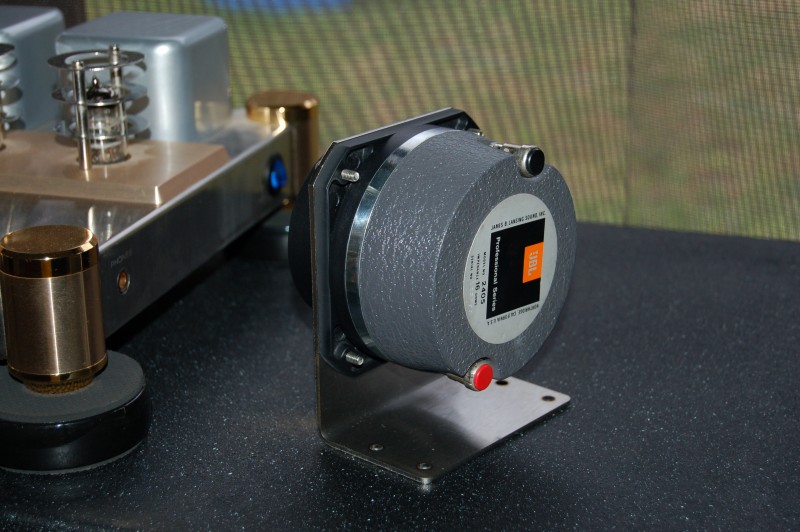
A shot from the back.
All done and now on to my crossover build.

Very nice. Very 1970's. I think I may have sent the wrong stainless steel bolts. I have some that are barely portruding from the back of the plate. I will inlcude them next time I send you "something" ;-)
PS The brushed stainless steel goes very well with your lamp amplifier.

wow, you've really polished the cannons
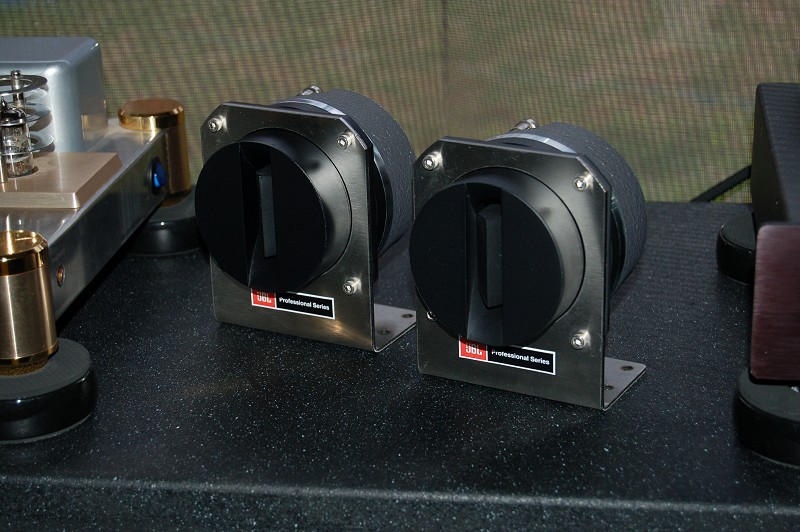
The pairing of custom stands and over-restored* driver casework looks nice enough to
have them proudly out on display.
*I mean that in a good way.

Slick! Nice job again.

Nice stickers
excellent write up,very informative.Originally Posted by Eaulive

thanks for posting
Nice restoration.
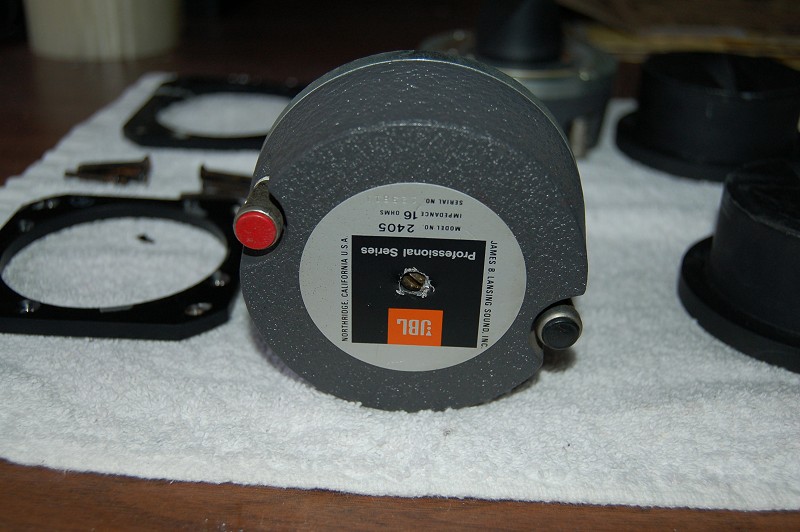
I'm aways leary of people who advertise "original diaphragm," but where the rear screw is exposed.
Even if it is original, I know that simply turning that screw and not holding the phase plug still will twist a wrinkle into the diaphragm.
Sure, I know the rear tag can be removed/replaced with a heat gun (or a newer tag), but an original tag will have a serial number and most don't bother to go though the hair dryer routine before messing with it.
Media blasted and clear coated...

Nice work tim, painted 2405s turned our well.
There are currently 1 users browsing this thread. (0 members and 1 guests)
 Posting Permissions

 Reply With Quote

